Oracle GoldenGate Veridata 23c has been released recently and is available on-premises.
The new Oracle GoldenGate Veridata 23c is a completely re-designed and re-architected and includes an entirely new user experience, better performance, enhanced security, and extensive developer APIs.
Some of the New Features and Enhancements are:
-
1. New Modernised User Interface
2. Cloud Ready – No More Dependency on FMW (WebLogic)
3. Embedded MySQL Repository Database
4. Simplified Installation
5. Enhanced Export/Import Utility
6. Rest API – Fully Supported
7. Enhanced User Management
8. Enhanced Report
If you want to know more about Oracle GoldenGate Veridata 23c, please check the below links,
Oracle GoldenGate Veridata 23c Announcement Blog
Oracle GoldenGate Veridata 23c – How it works?
In this article, I am going to explain the steps to install Oracle GoldenGate Veridata 23c.
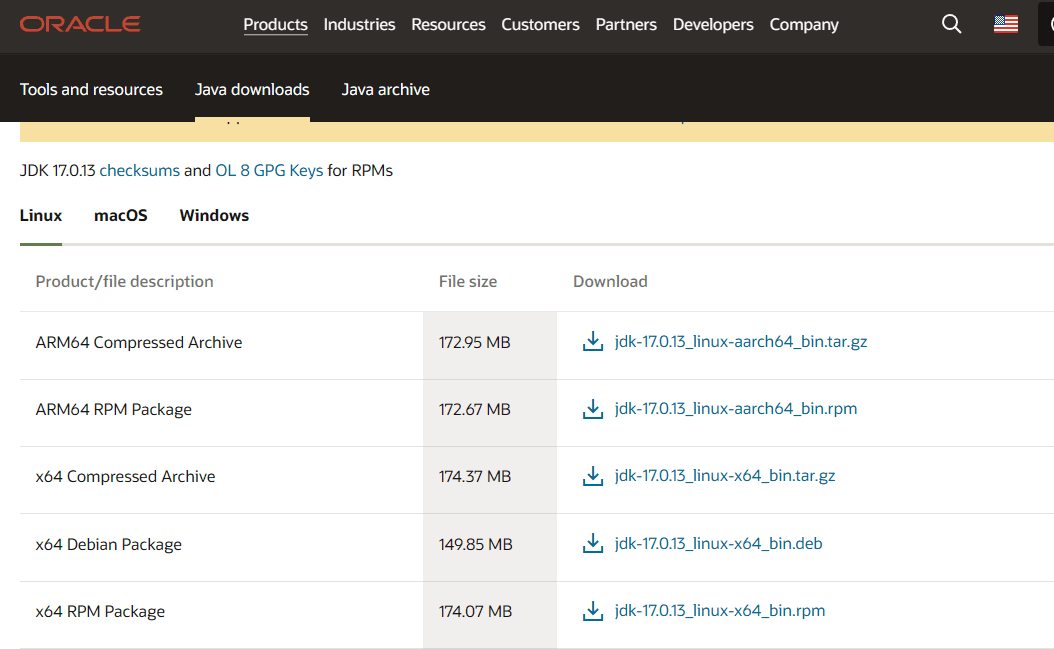
Before getting into the installation, you need to download and install Java17 which is the minimum version required for Veridata 23c to work.
Please download the Java17 from the below url,
I have downloaded the Java17 in the below path and installed it.
Now, let’s start the installation of Oracle GoldenGate Veridata 23c.
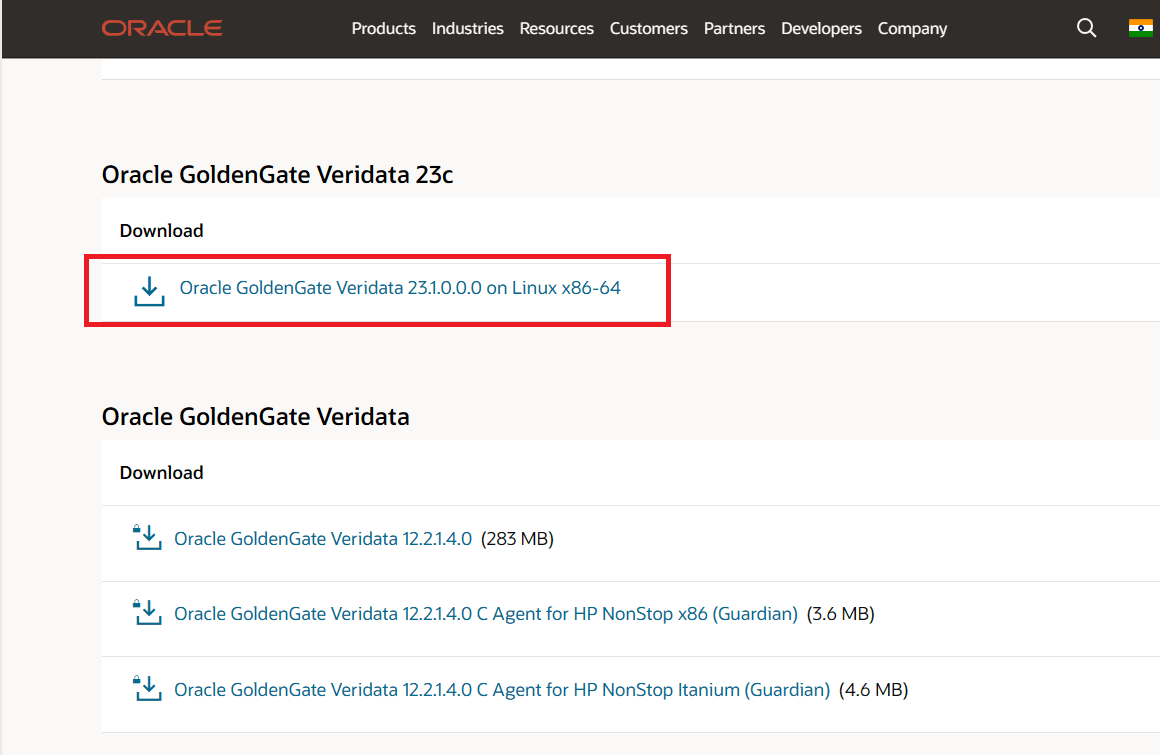
Please download the Oracle GoldenGate Veridata 23c binary from the Oracle Downloads as below,
Oracle GoldenGate Veridata 23c Download
I have downloaded the binary in the below path and Unzipped it.
Navigate to the directory where you unzipped the binary.
Now, execute the runInstaller as below,
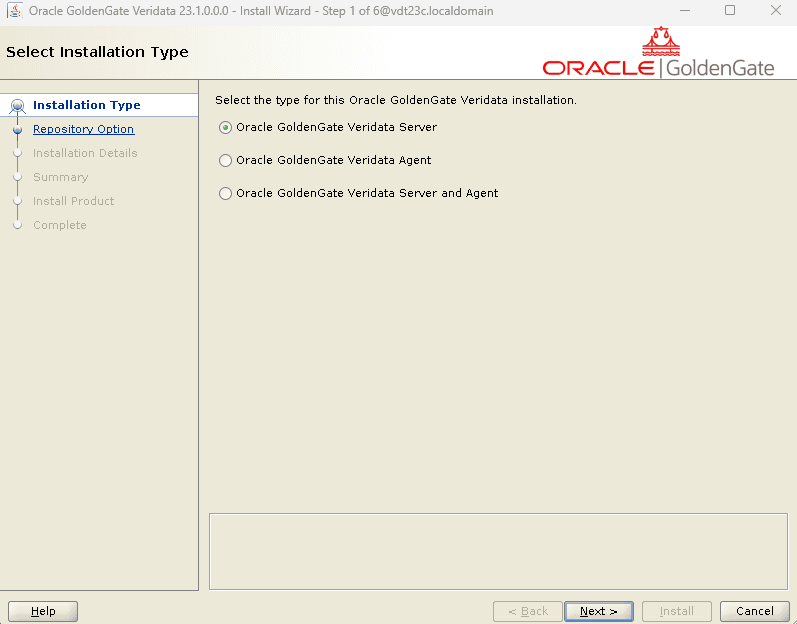
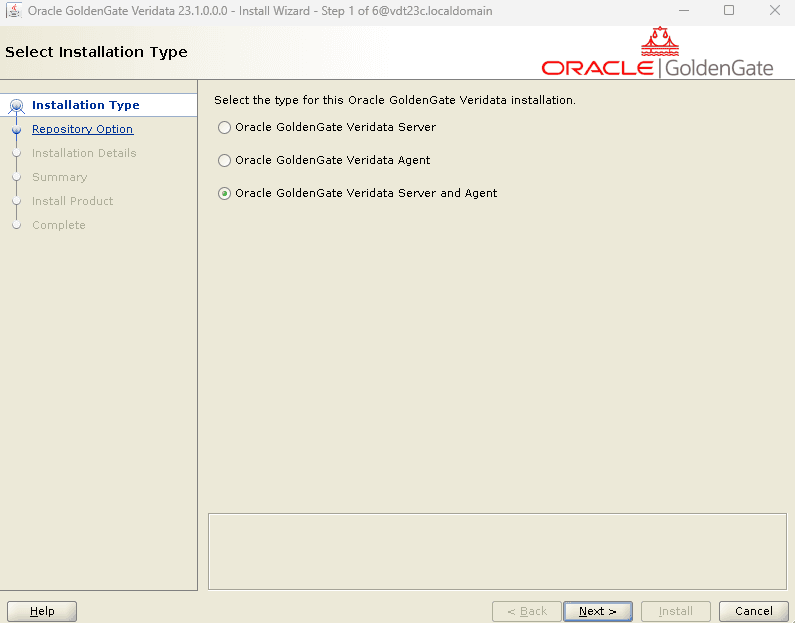
The Installer screen opens up.
By default, the first option to install only Veridata Server will be selected. You can either install the Veridata Server and Veridata Agent separately or together.
In this installation, I am going to select the third option, where both Veridata Server and Agent will be installed together.
Click on Next.
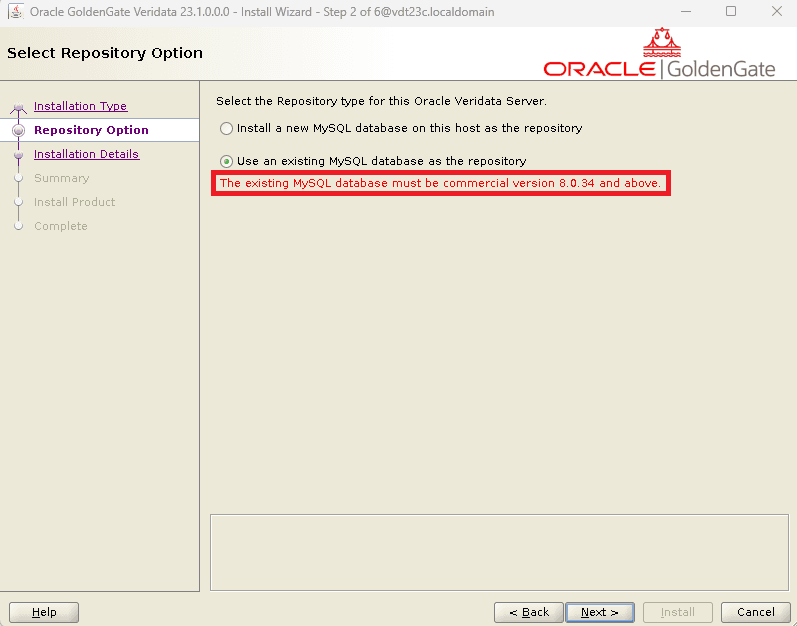
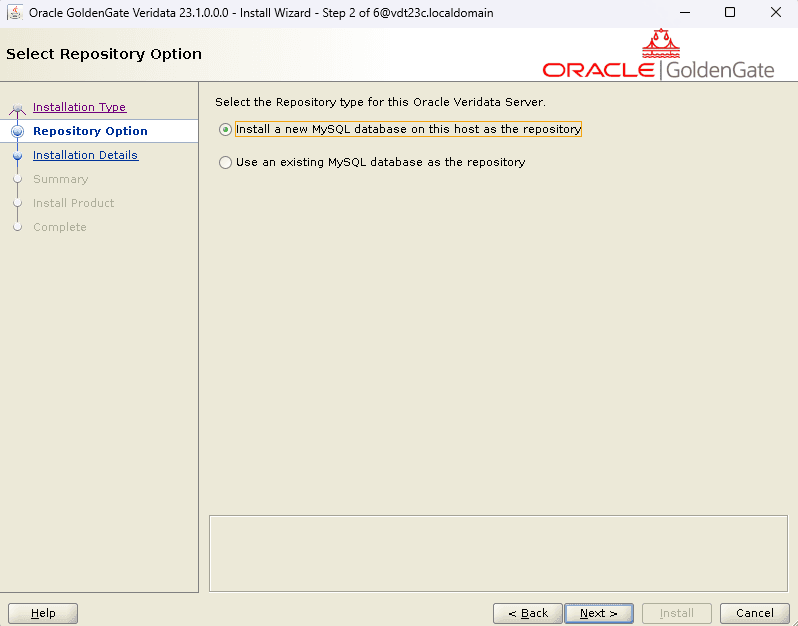
From Veridata 23c, there is no more support for Oracle or SqlServer as a repository database. In order to make the installation simpler, an built-in MySQL database has been introduced. The users can either use the built-in MySQL or an existing MySQL database for repository.
If you choose the second option, but, the MySQL version should be a commercial version 8.0.34 and above. This is one of the pre-requisites for Oracle GoldenGate Veridata 23c.
In this installation, I am going to select the default or the first option where a new MySQL database will be installed and configured as a repository database for Veriata 23c.
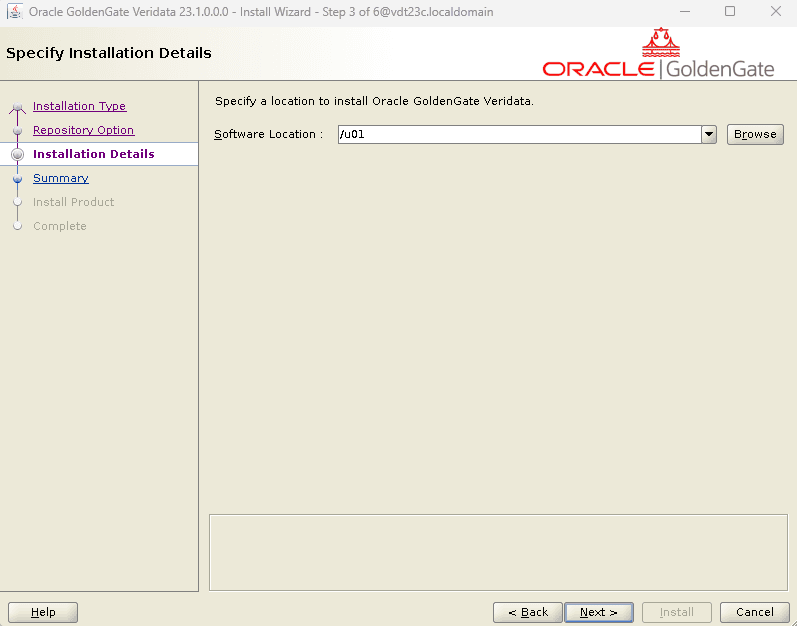
Click on Next and you will be asked to provide the path where you want to install Oracle GoldenGate Veriata 23c. Provide the path and click on Next.
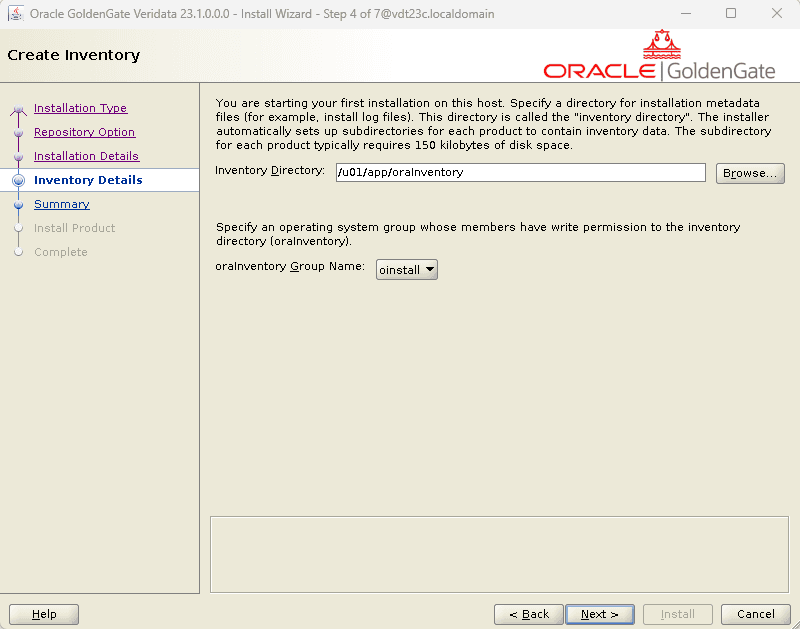
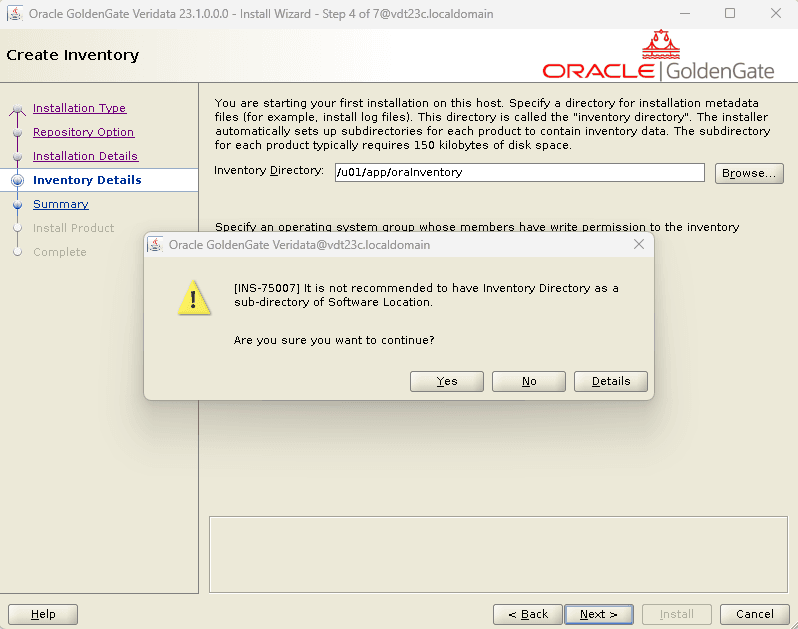
Provide the Oracle Inventory path and click Next.
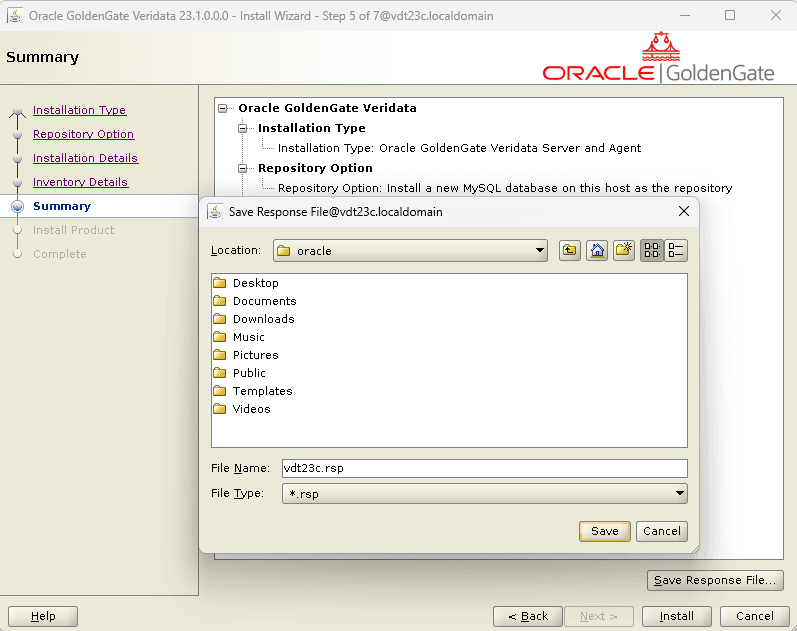
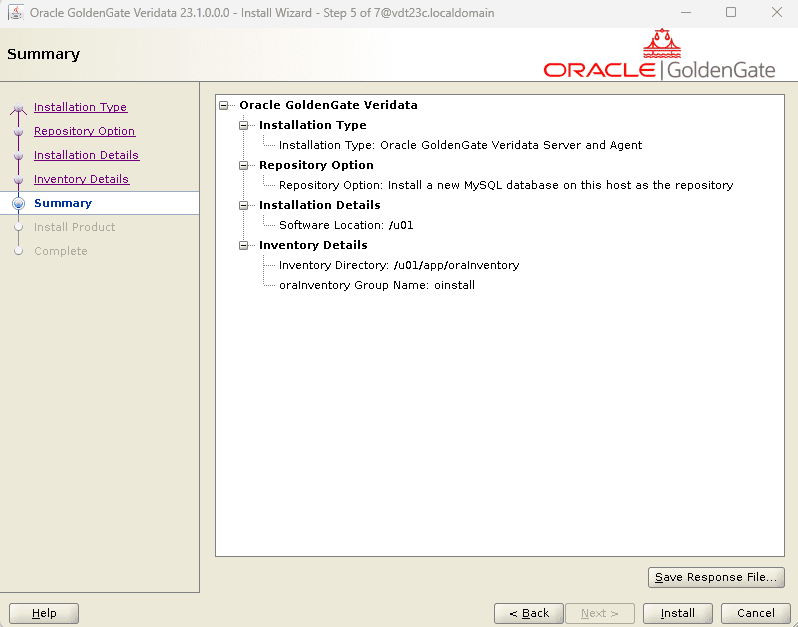
If you wish to save the response file, please go ahead and click on the “Save Response File…” else, click the Install button.
I just saved the response file for the future purpose and clicked on Install.
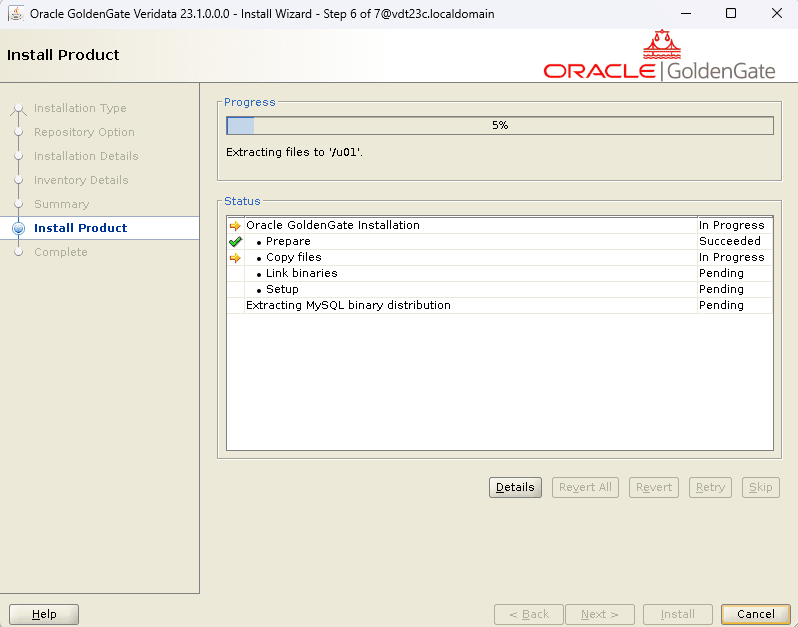
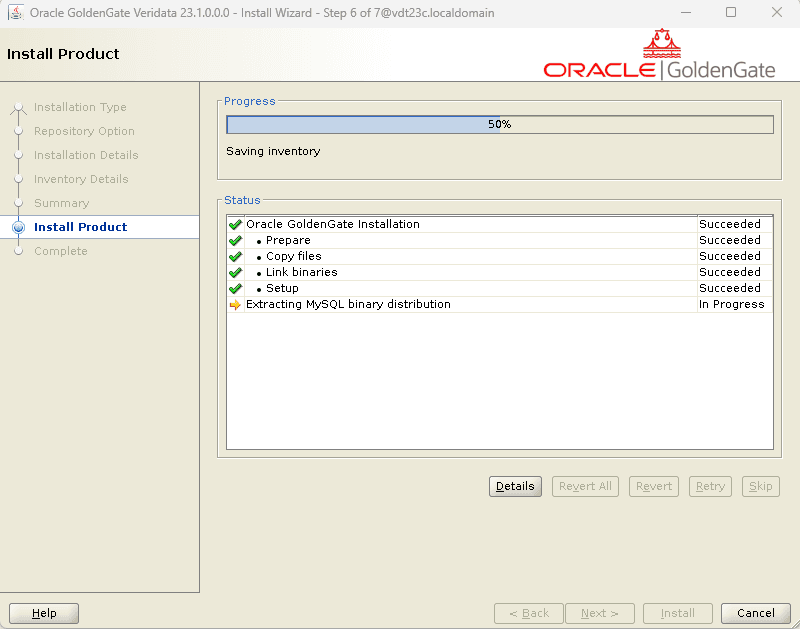
The installation will begin as you can see in the below screens.
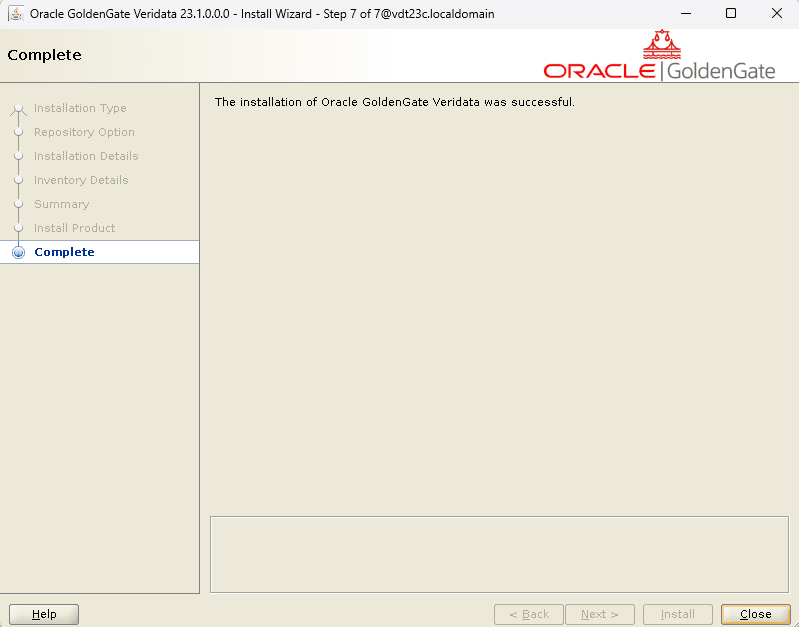
The installation is complete. Click on the Close button.
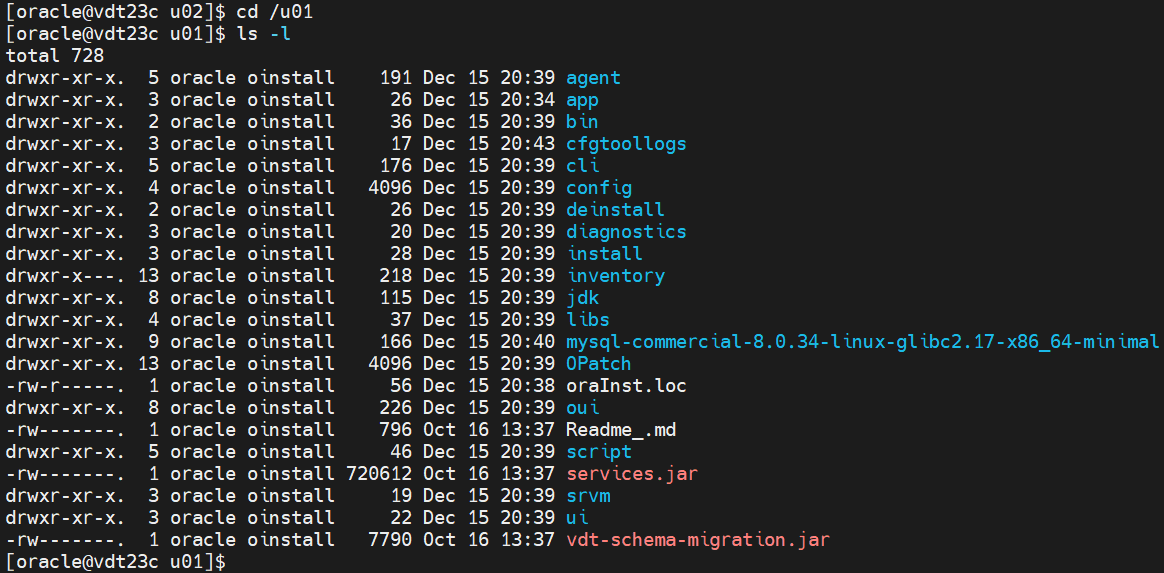
Oracle GoldenGate Veriata 23c is installed in the below directory.
The installation is completed. The next step is to configure Oracle GoldenGate Veriata 23c. Navigate to the bin directory under the Veridata home.
Run the vdtca.sh as below,
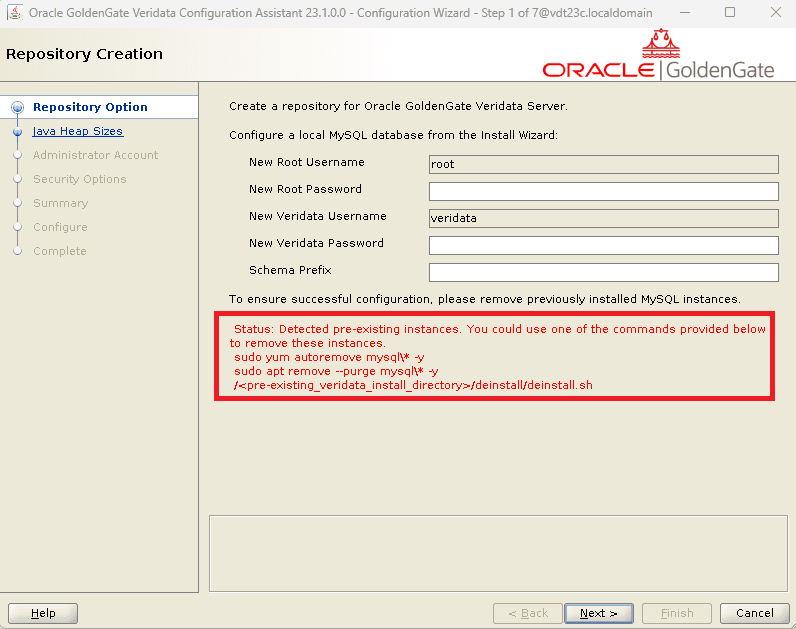
The Veridata 23c Configuration Wizard opens up.
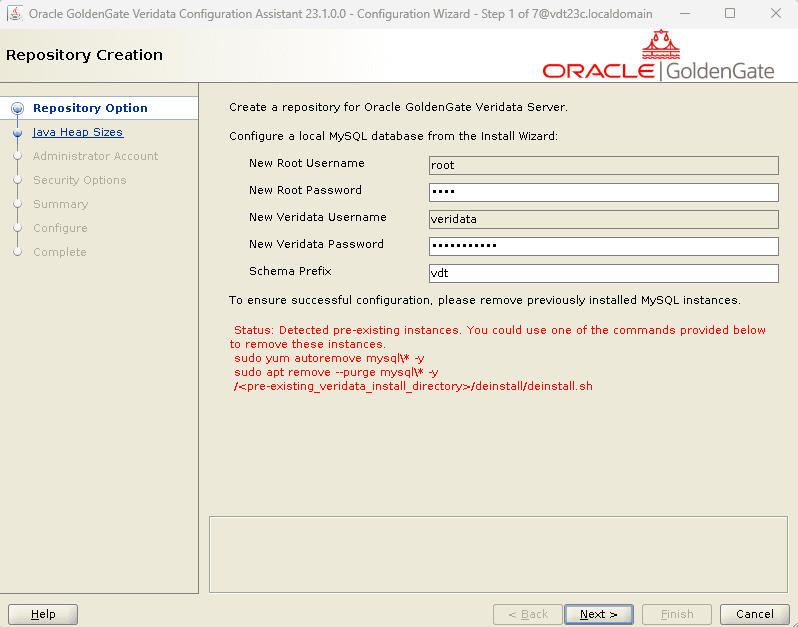
In this screen, you need to provide the details for the built-in MySQL repository database configuration.
Also, you can see a “Status” message at the bottom which tells that there is already a MySQL instance configured in the server and provides us with the script to remove the existing instances from the server.
Please run the commands provided to remove or cleanup the existing MySQL instances from the server.
sudo yum autoremove mysql\* -y
sudo apt remove –purge mysql\* -y
After providing the installation details, click Next.
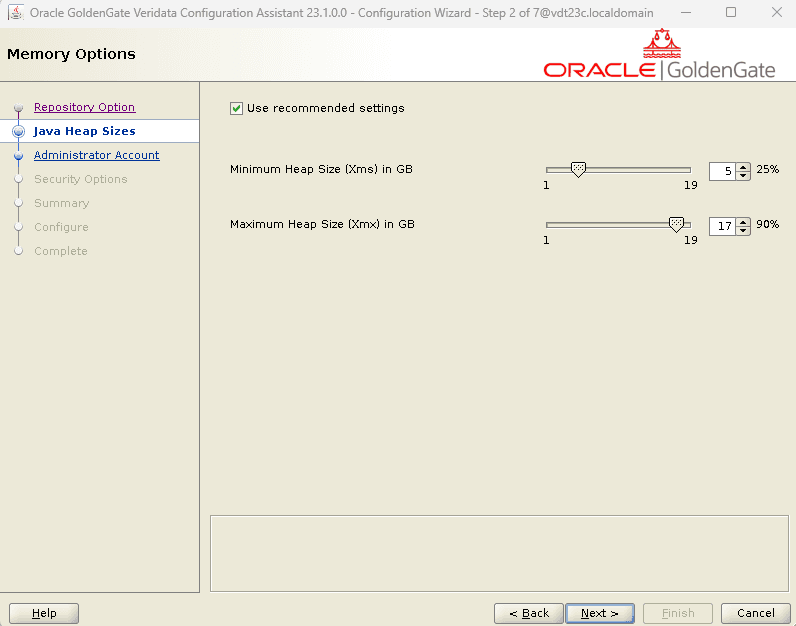
In this “Java Heap Size” screen, you can provide the min and max heap size as per the requirement. Here, I am just moving forward with the “Use recommended settings”.
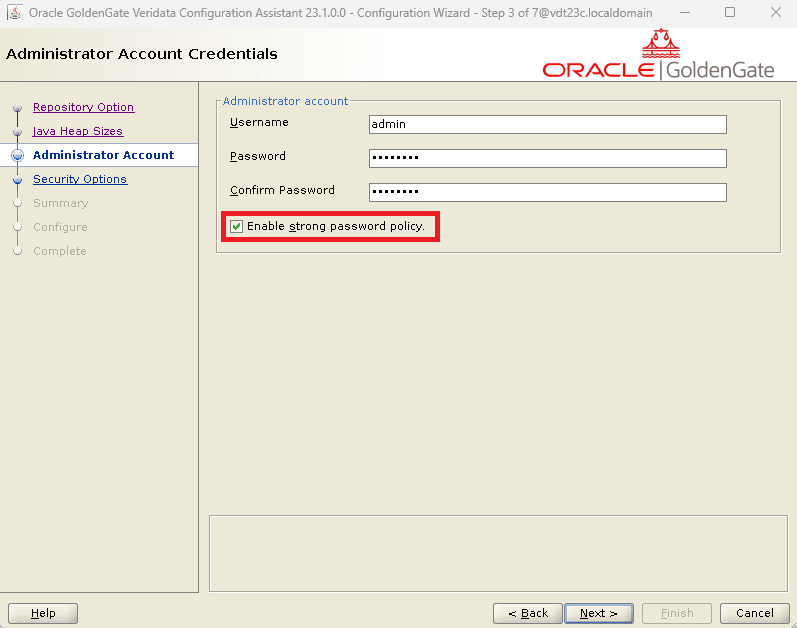
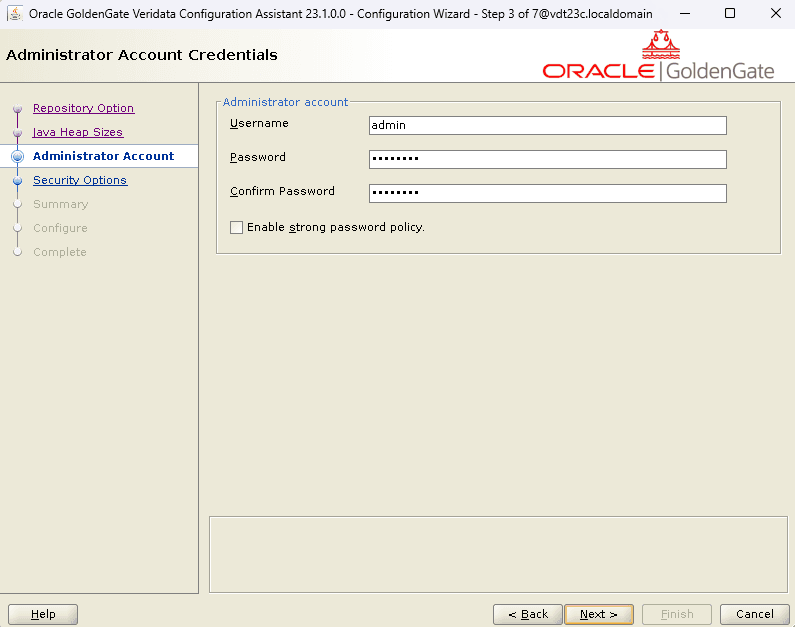
Please provide the Administrator Account credentials here. This is the user using which you will login to the Veridata 23c console.
By, default the option “Enable strong password policy” is selected.
I have unchecked the option as this is just for a blog purpose. It is strongly recommended to provide the password using strong password policy.
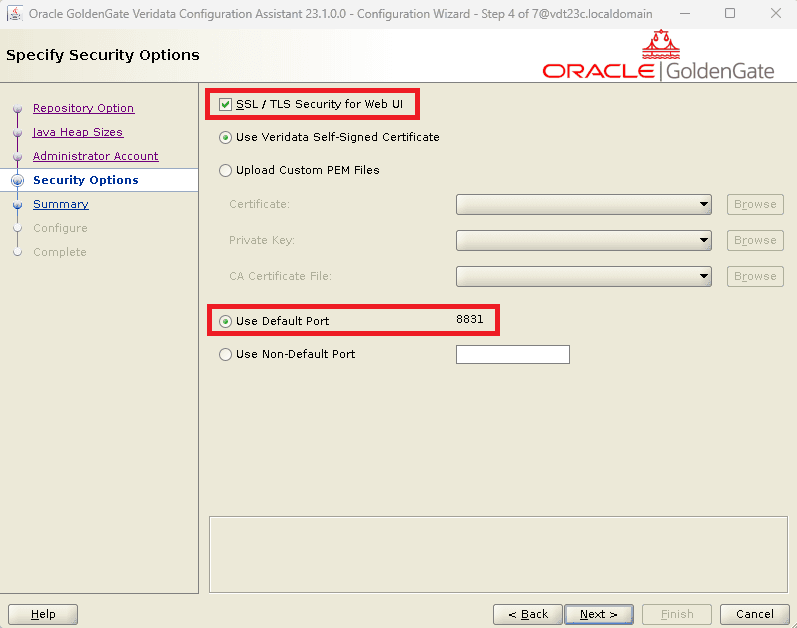
Clicking Next will take you to the “Security Options” screen. Here, by default, “SSL / TLS Security for Web UI” is selected. Customers can either use the Veridata’s self signed certificate or their own certificate by selecting “Upload Custom PEM Files”.
The default port used is 8831. However, you can provide a non-default port by selecting the option “Use Non-Default Port”.
I am going with the default SSL option and default port which is “SSL / TLS Security for Web UI” and 8831.
Click Next.
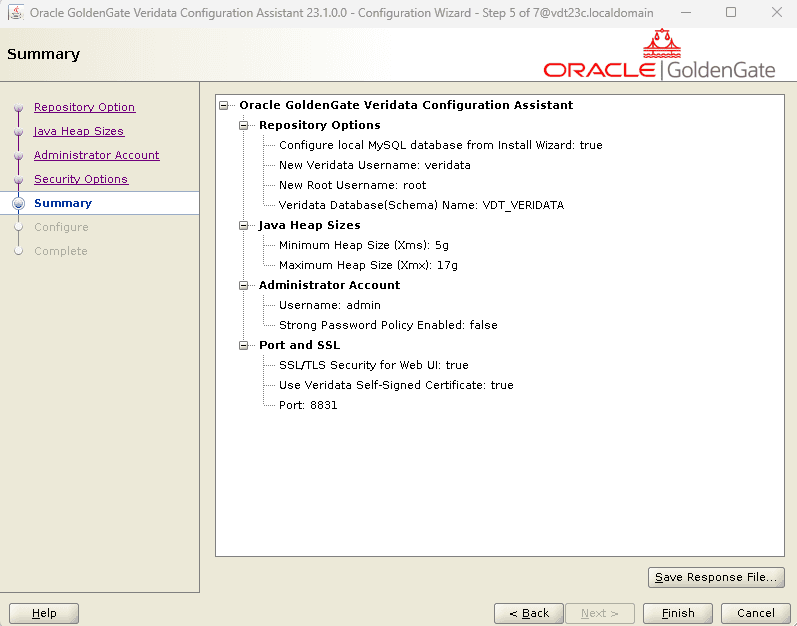
The summary will be displayed.
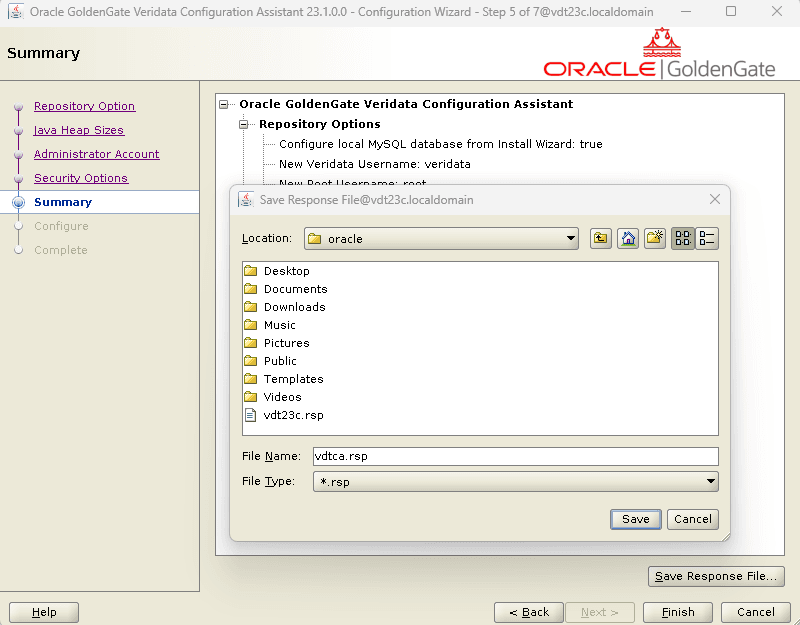
If you want to save this response file, you can always do it here by clicking the “Save Response File…”. I am going to save it.
Click Finish.
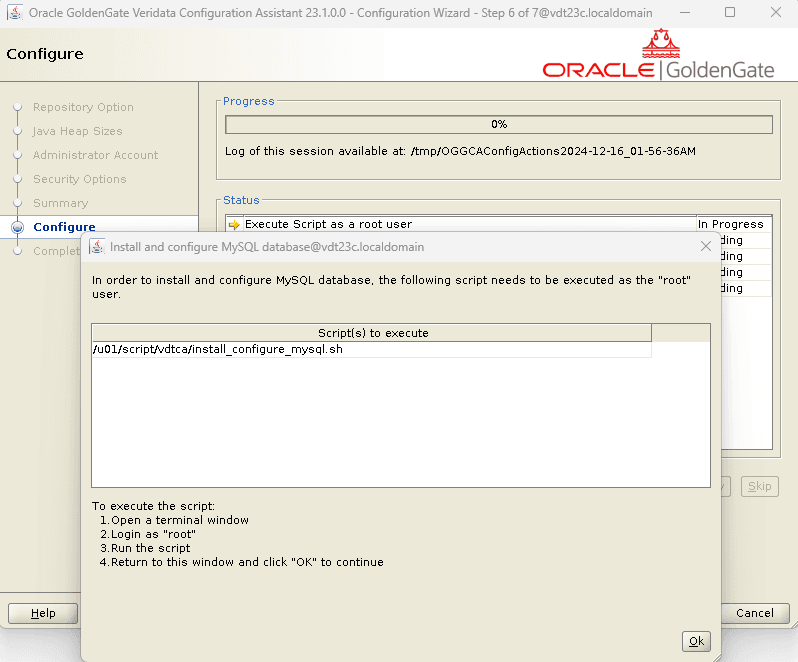
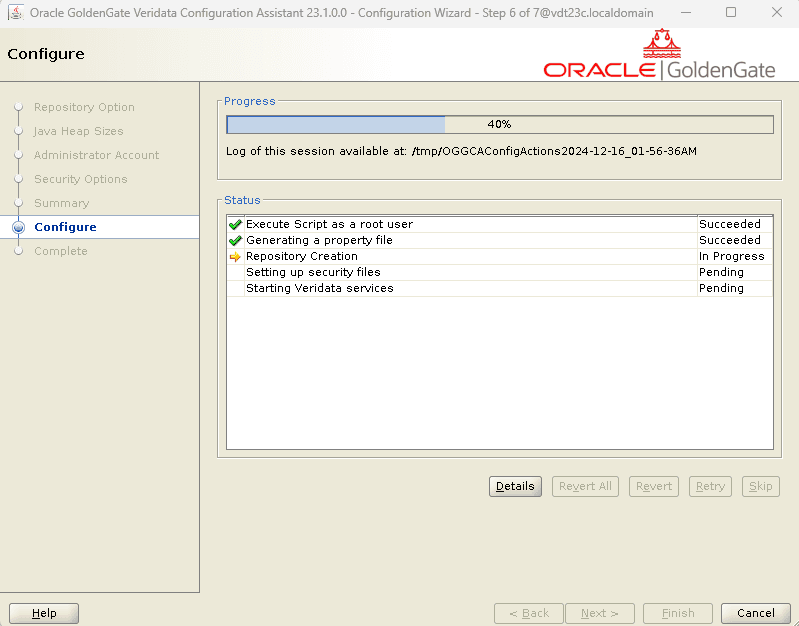
Once you click on the Finish button, the configuration of Veridata 23c will get started. It will ask to run a script “install_configure_mysql.sh” as root user and running this script will install and configure the MySQL database for repository.
After running the script as root user, click on OK to continue.
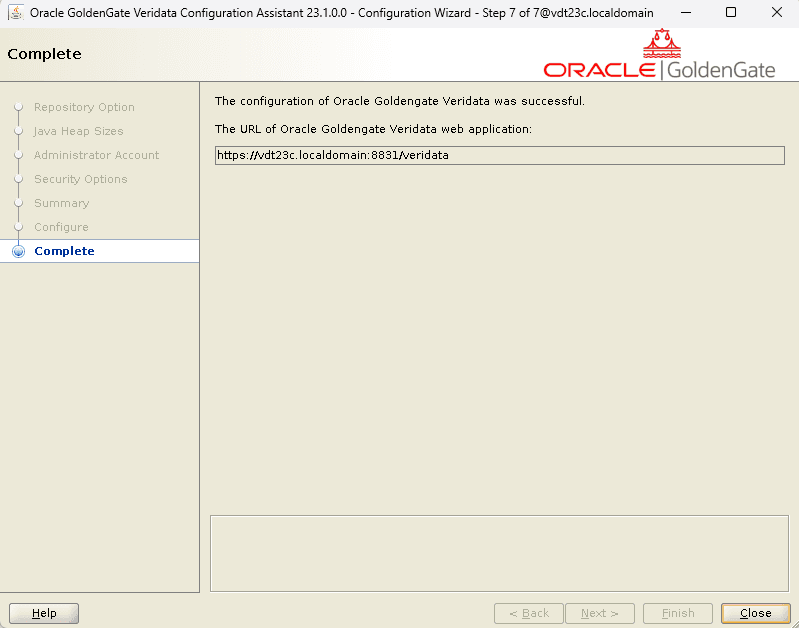
You will see the complete screen with configuration successful message and the URL for Oracle GoldenGate Veriata as below,
Click Close.
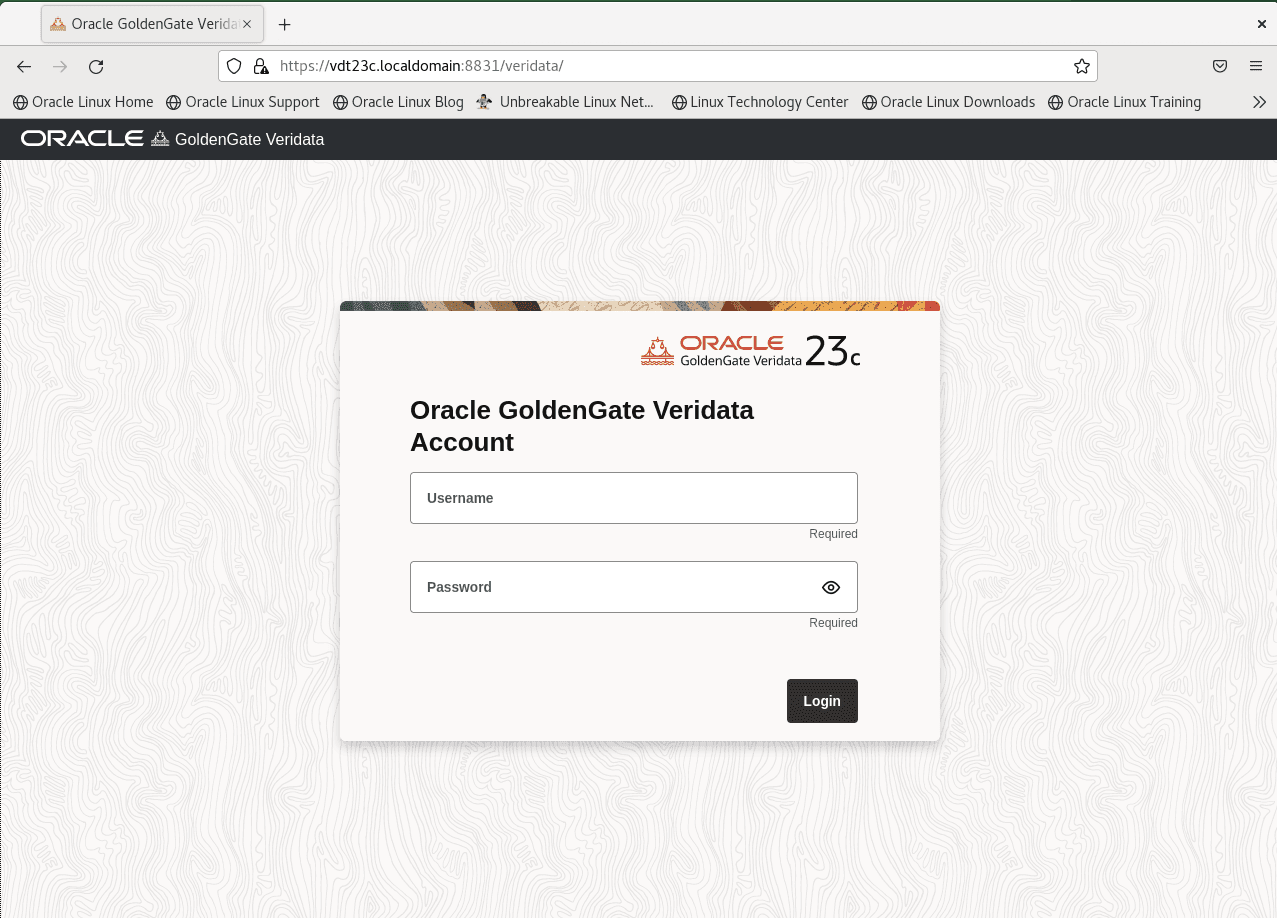
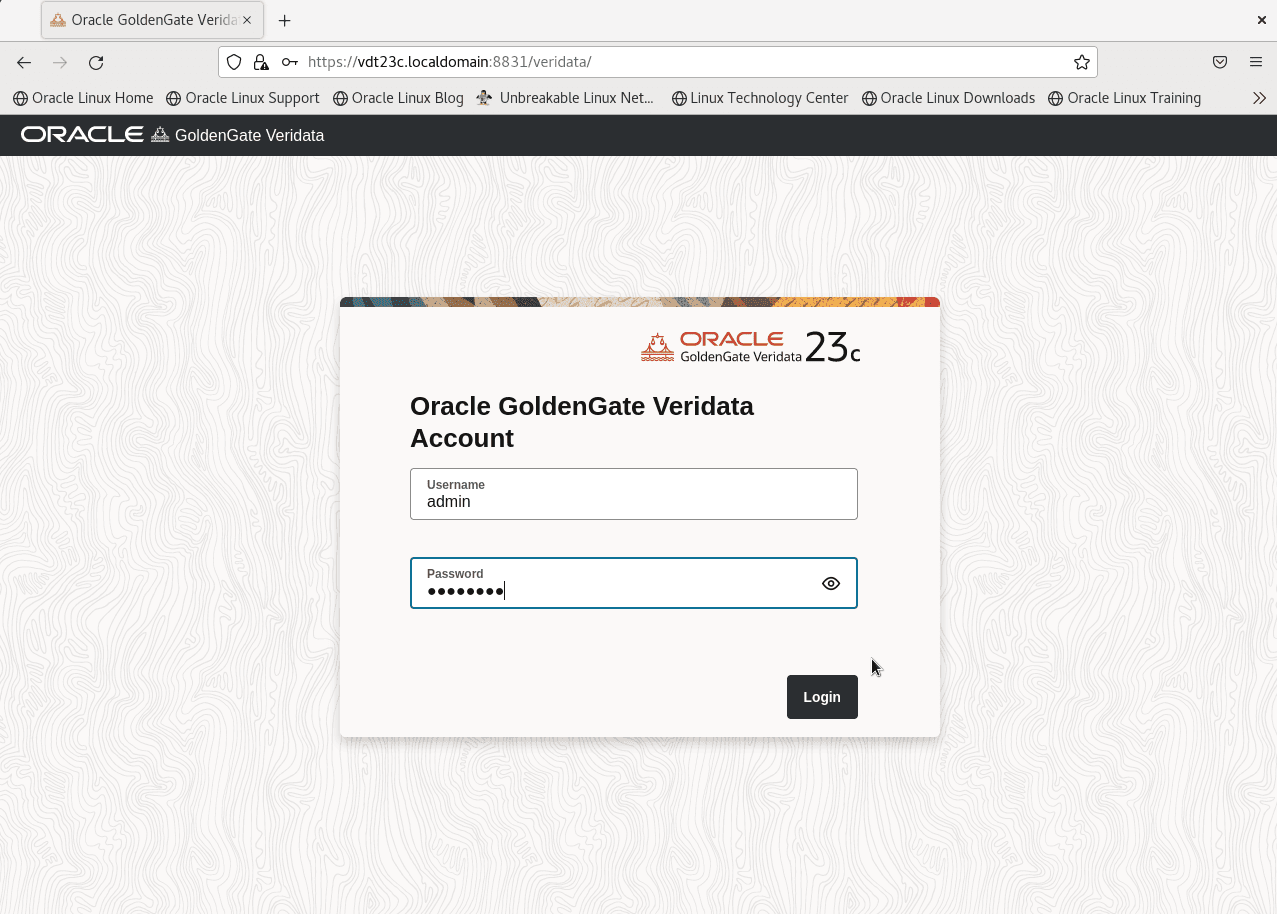
Use the URL to get into the Veridata 23c web console.
Provide the Administrator Account credentials which we provided during the installation of Veridata 23c and click Login.
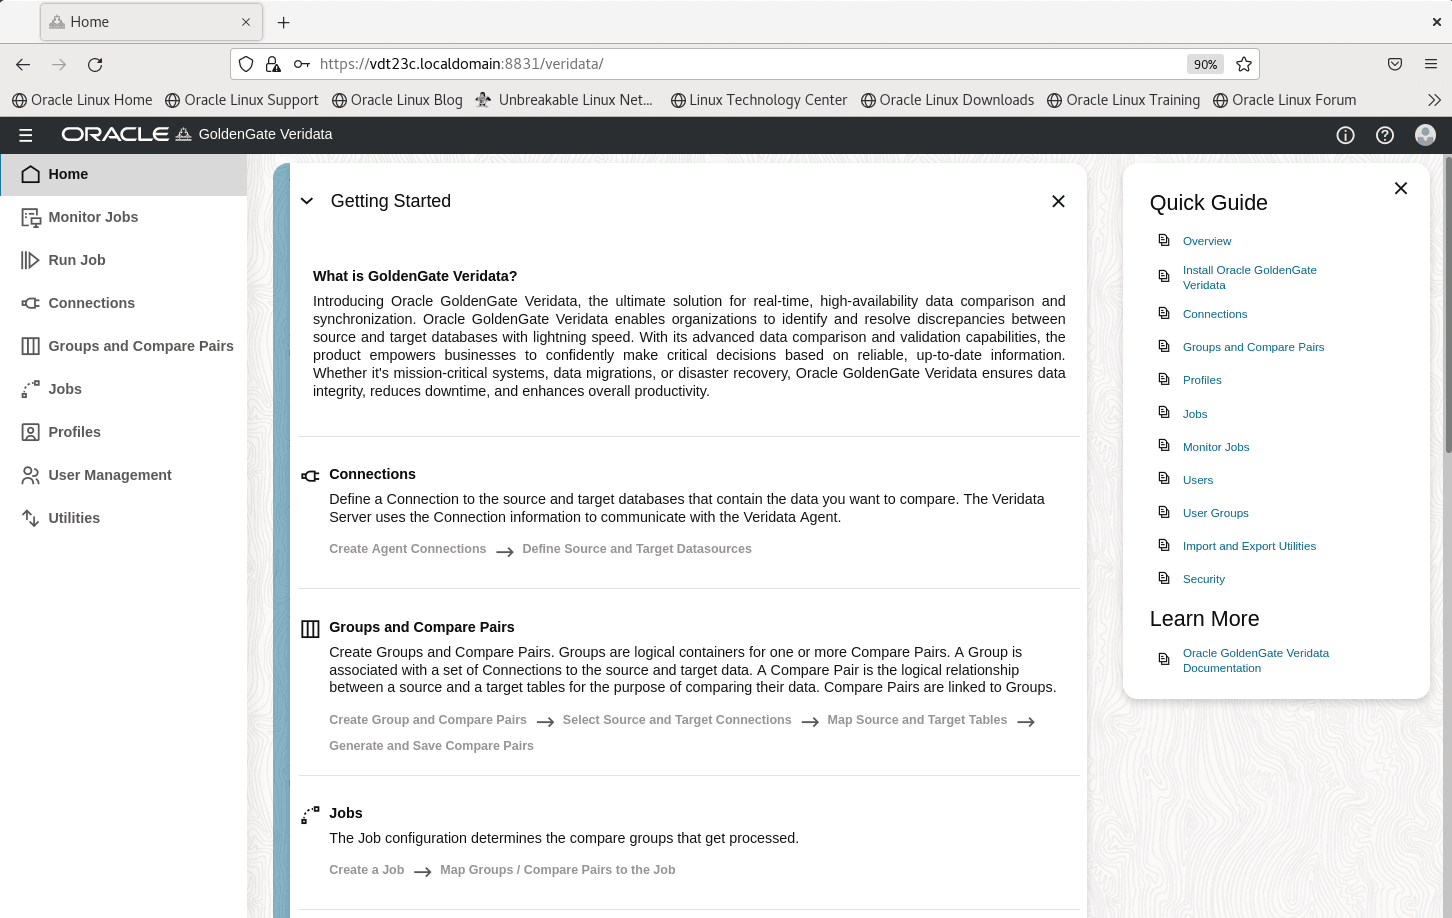
You will be taken to the beautiful Home Page of Veridata 23c. Initially, you will see “Getting Started” and “Quick Guide”.
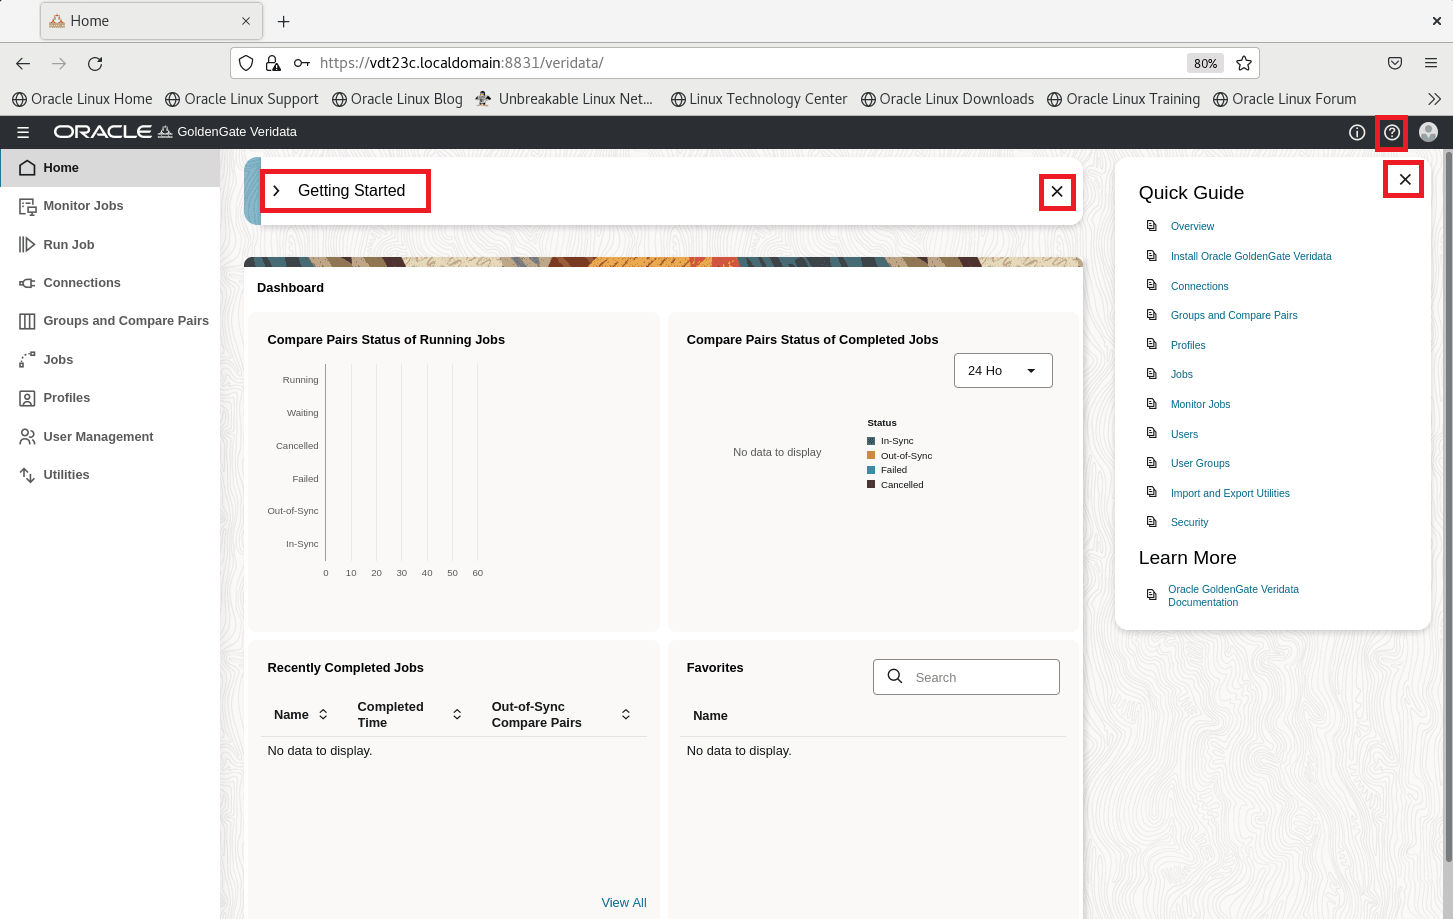
You can always use the accordion to minimize the “Getting Started” component. Also, you can close the “Getting Started” and the “Quick Guide” and bring it back from the help icon in the top right corner of the UI.
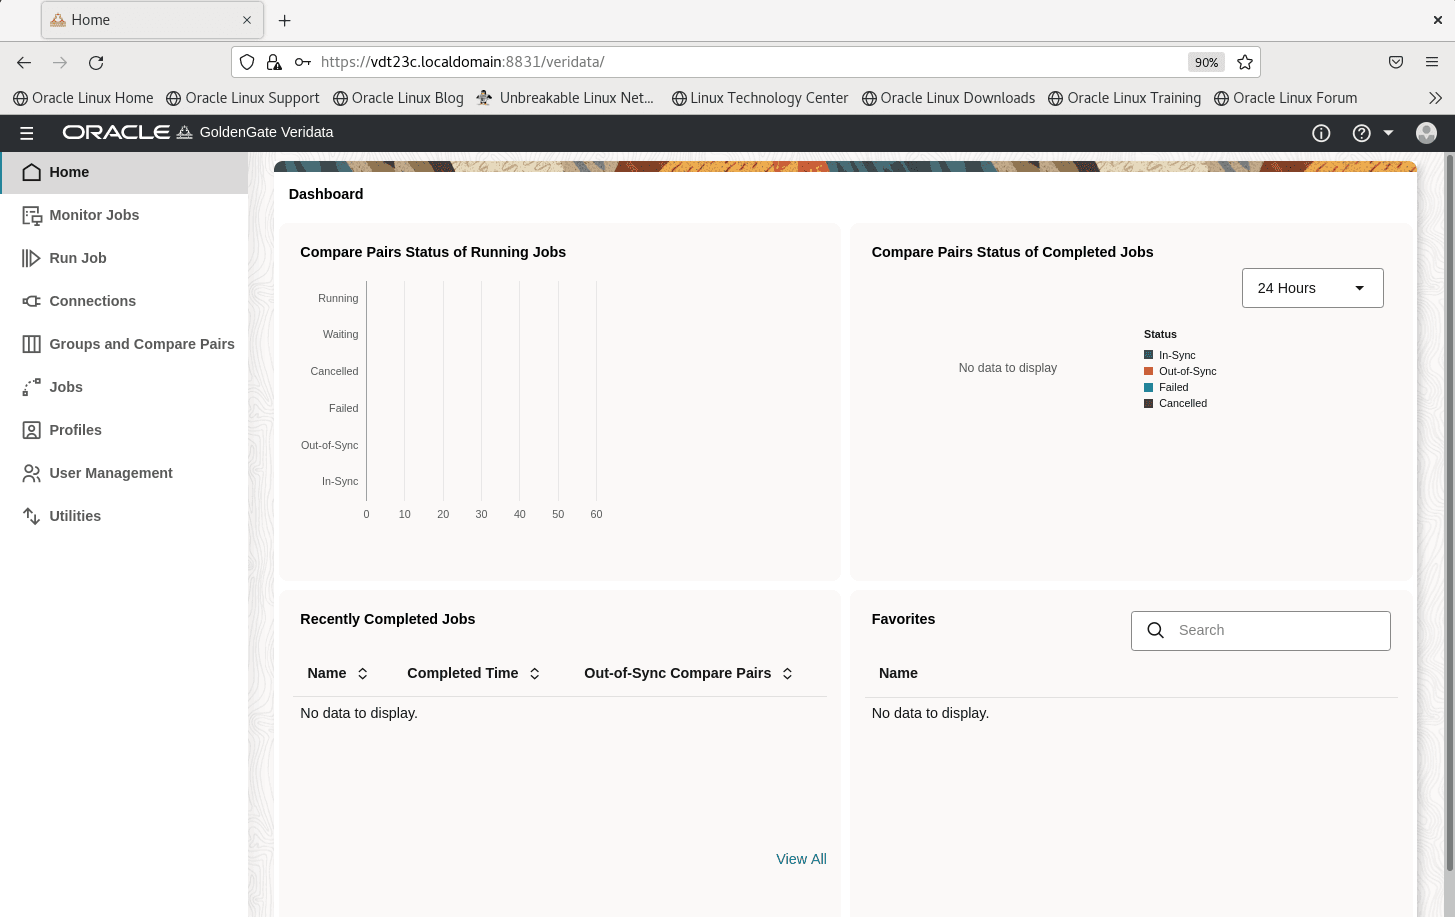
Below is the beautiful dashboard of Oracle GoldenGate Veridata 23c Home Page.
Hope you had a clear understanding on how to install and configure Oracle GoldenGate Veridata 23c. In the next article, we will see how to configure Connections, Compare Pairs, Groups and Jobs in Oracle GoldenGate Veridata 23c. I have also done an exclusive demo on Veriata 23c which explains the complete configuration. Below is the link to the demo video.
Oracle GoldenGate Veridata 23c Demo

Cheers :-)














 Total Users : 1884791