
Oracle GoldenGate Veridata is an high speed data comparison and repair solution.
The new Oracle GoldenGate Veridata 23c has been released with completely redesigned modernized user interface and major architectural changes. I have already written a blog about the step by step installation of Veridata 23c which is below,
Oracle GoldenGate Veridata 23c Installation
Some of the New Features and Enhancements are:
-
1. New Modernised User Interface
2. Cloud Ready – No More Dependency on FMW (WebLogic)
3. Embedded MySQL Repository Database
4. Simplified Installation
5. Enhanced Export/Import Utility
6. Rest API – Fully Supported
7. Enhanced User Management
8. Enhanced Report
If you want to know more about Oracle GoldenGate Veridata 23c, please check the below links,
Oracle GoldenGate Veridata 23c Announcement Blog
Oracle GoldenGate Veridata 23c – How it works?
In this article, I am going to explain the steps to install Oracle GoldenGate Veridata 23c in silent mode.
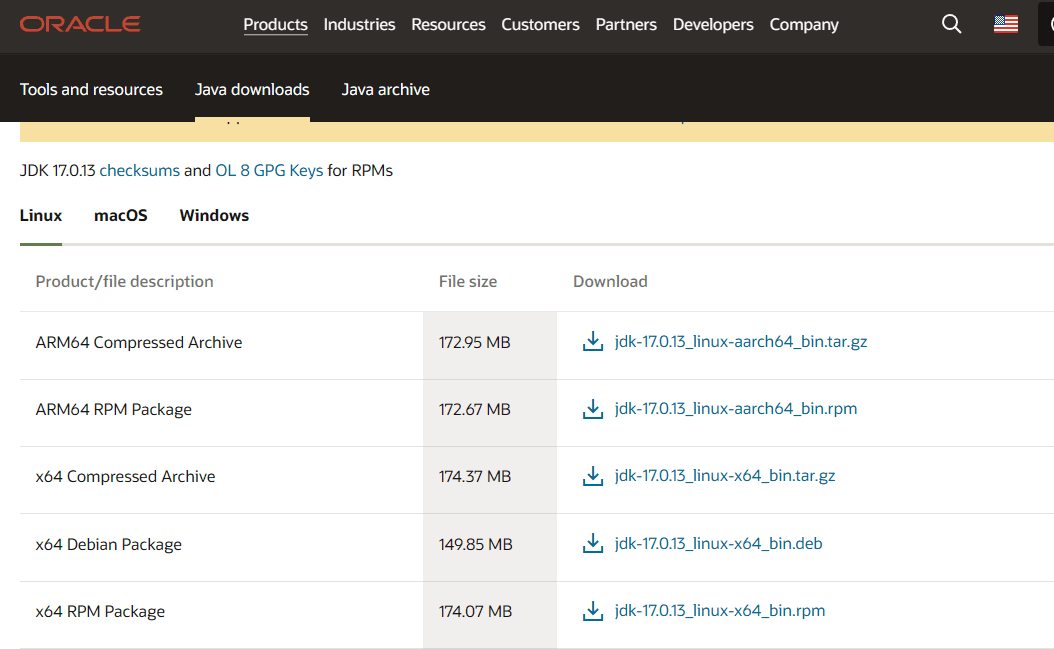
Before getting into the installation, you need to download and install Java17 which is the minimum version required for Veridata 23c to work.
Please download the Java17 from the below url,
I have downloaded the Java17 in the below path and installed it.

Now, let’s start the installation of Oracle GoldenGate Veridata 23c.
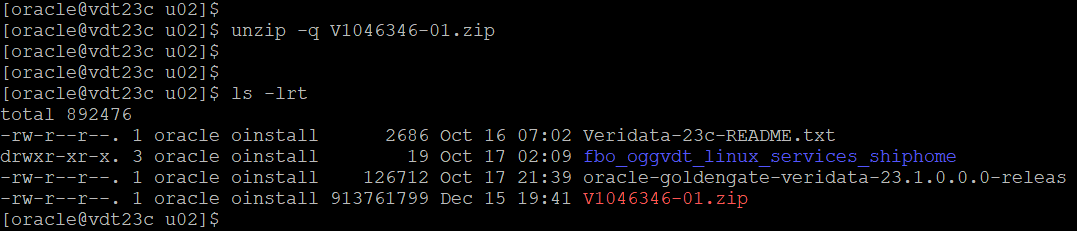
Please download the Oracle GoldenGate Veridata 23c binary from the Oracle Downloads as below,
Oracle GoldenGate Veridata 23c Download

I have downloaded the binary in the below path and Unzipped it.

The response files required for the silent installation is in the below location.
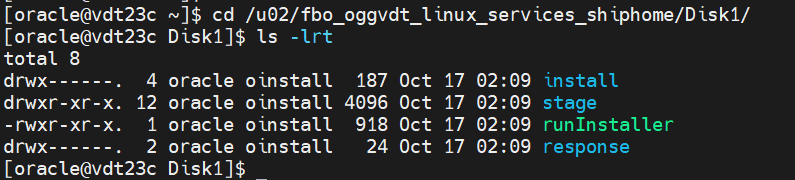
Navigate to the directory where you unzipped the binary.

Firstly, we need to install Oracle GoldenGate Veridata 23c (runInstaller) and then configure it (vdtca.sh). Let’s install it first using the runInstaller.
Below are the contents of the two response files used for this intallation.
VDT23c.rsp
######################################################################

## Copyright(c) Oracle Corporation 2016, 2022. All rights reserved. ##

##                                                                  ##

## Specify values for the variables listed below to customize       ##

## your installation.                                               ##

##                                                                  ##

## Each variable is associated with a comment. The comment          ##

## can help to populate the variables with the appropriate          ##

## values.                                                          ##

##                                                                  ##

## IMPORTANT NOTE: This file should be secured to have read         ##

## permission only by the Oracle user or an administrator who       ##

## owns this installation to protect any sensitive input values.    ##

##                                                                  ##

######################################################################
#-------------------------------------------------------------------------------
# Do not change the following system generated value.
#-------------------------------------------------------------------------------
oracle.install.responseFileVersion=/oracle/install/rspfmt_ogginstall_response_schema_v23_1_0
################################################################################
## ##
## Oracle GoldenGate installation option and details ##
## ##
################################################################################
#-------------------------------------------------------------------------------
# Specify the installation option.
# Specify ORA23c for installing Oracle GoldenGate for Oracle Database 23c and lower supported versions
#-------------------------------------------------------------------------------
INSTALL_OPTION=SERVERAGENT
IS_NEWREPO=true
#-------------------------------------------------------------------------------
# Specify a location to install Oracle GoldenGate
#-------------------------------------------------------------------------------
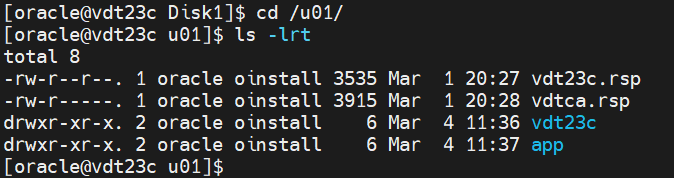
SOFTWARE_LOCATION=/u01/vdt23c
################################################################################
## ##
## Specify details to Create inventory for Oracle installs ##
## Required only for the first Oracle product install on a system. ##
## ##
################################################################################
#-------------------------------------------------------------------------------
# Specify the location which holds the install inventory files.
# This is an optional parameter if installing on
# Windows based Operating System.
#-------------------------------------------------------------------------------
INVENTORY_LOCATION=/u01/app/oraInventory
#-------------------------------------------------------------------------------
# Unix group to be set for the inventory directory.
# This parameter is not applicable if installing on
# Windows based Operating System.
#-------------------------------------------------------------------------------
UNIX_GROUP_NAME=oinstall
VDTCA.rsp
################################################################################

## Copyright(c) Oracle Corporation 2016, 2022. All rights reserved.           ##

##                                                                            ##

## Specify values for the variables listed below to customize your            ##

## installation.                                                              ##

##                                                                            ##

## Each variable is associated with a comment. The comments can help to       ##

## populate the variables with the appropriate values.                        ##

##                                                                            ##

## IMPORTANT NOTE: This file should be secured to have read permission only   ##

## by the Oracle user or an administrator who owns this configuration to      ##

## protect any sensitive input values.                                        ##

##                                                                            ##

################################################################################
#-------------------------------------------------------------------------------
# Do not change the following system generated value.
#-------------------------------------------------------------------------------
oracle.install.responseFileVersion=/oracle/install/rspfmt_oggca_response_schema_v23_1_0
################################################################################
## ##
## Oracle GoldenGate deployment configuration options and details ##
## ##
################################################################################
################################################################################
## ##
## Instructions to fill out this response file ##
## ------------------------------------------- ##
## Fill out section A, B, and C for general deployment information ##
## Additionally: ##
## Fill out sections D, E, F, G, H, I, and J for adding a deployment ##
## Fill out section K for removing a deployment ##
## ##
################################################################################
################################################################################
# #
# SECTION A - GENERAL #
# #
################################################################################
IS_NEW_MYSQL=true
EXISTING_MYSQL_HOST=
EXISTING_MYSQL_PORT=
EXISTING_MYSQL_USERNAME=
EXISTING_MYSQL_PASSWORD=
NEW_MYSQL_ROOT_USERNAME=root
NEW_MYSQL_ROOT_PASSWORD=root
NEW_MYSQL_VERIDATA_USERNAME=veridata
NEW_MYSQL_VERIDATA_PASSWORD=veridata
SCHEMA_PREFIX=vdt
MIN_HEAP_SIZE=5g
MAX_HEAP_SIZE=10g
ADMINISTRATOR_USER=admin
ADMINISTRATOR_PASSWORD=admin123
#-------------------------------------------------------------------------------
# Specify if the admin user should enforce a strong password policy.
# Specify true to enable strong password policy management.
#-------------------------------------------------------------------------------
STRONG_PWD_POLICY_ENABLED=false
IS_SSL_ENABLED=false
IS_SELF_SIGNED_CERTIFICATE=
IS_PEM_FILES=
CERTIFICATE_LOCATION=
PRIVATE_KEY_LOCATION=
CA_CERTIFICATE_LOCATION=
VERIDATA_PORT=8830
Now, execute the runInstaller as below,
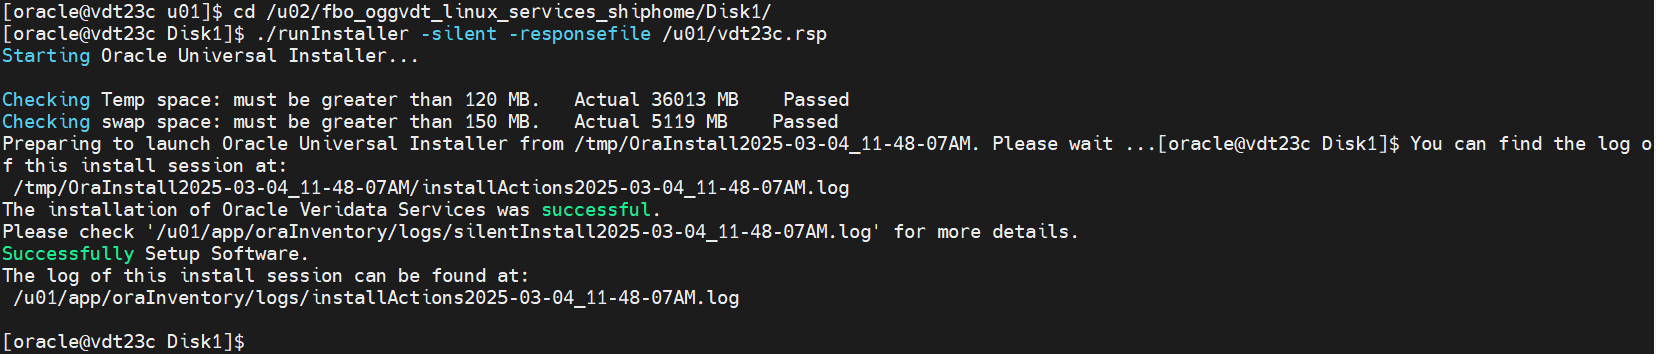
The installation of the Oracle GoldenGate Veridata 23c is successful.
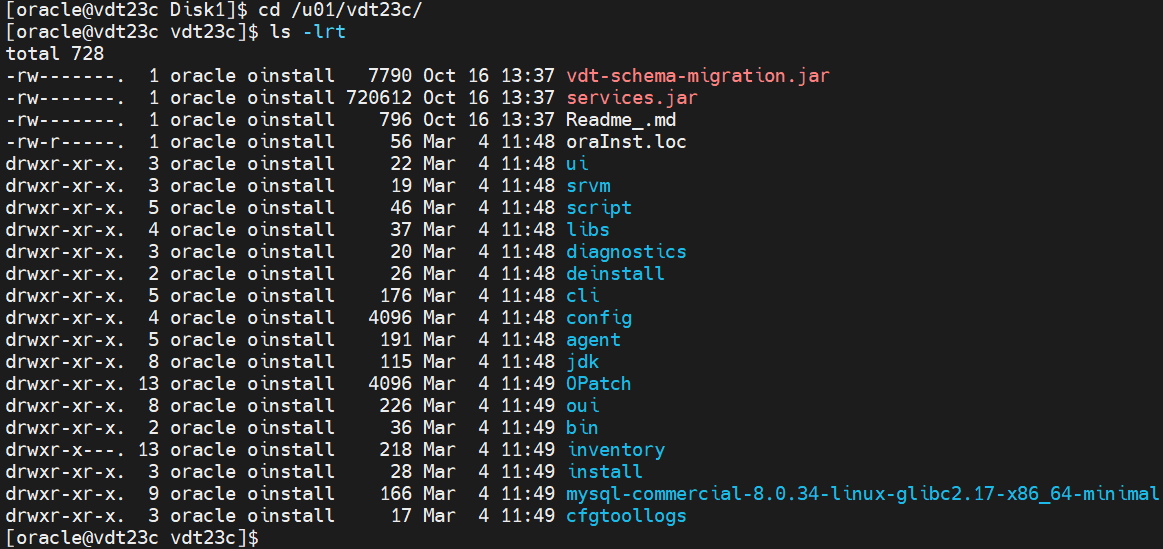
Navigate to the installation directory and you could see the directories and files created as below,
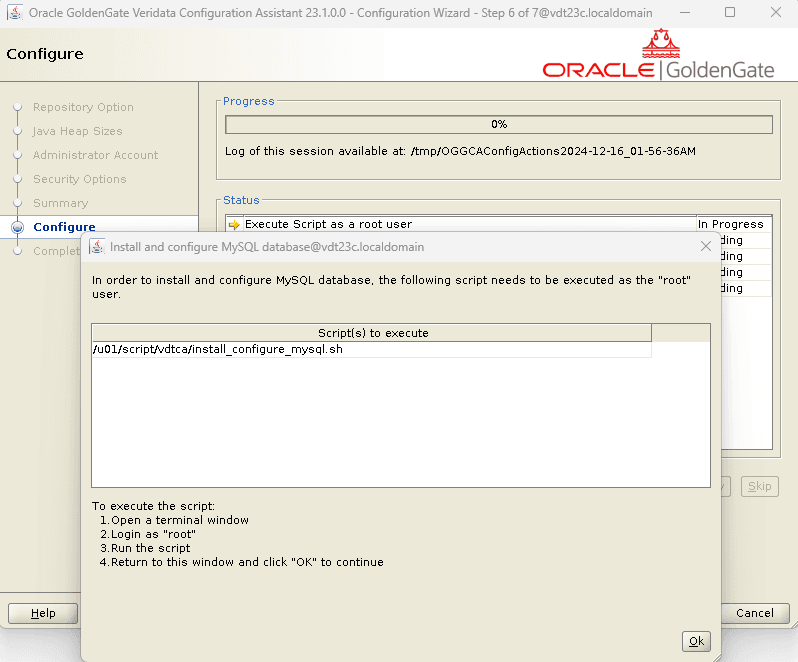
Before executing the vdtca.sh, there are couple of steps which needs to be done. When we run the vdtca.sh during the installation of Oracle GoldenGate Veridata 23c in GUI mode, it asks us to run a command to cleanup any existing MySQL instances and a script which needs to be executed as root user. The below image is for your reference.,

In this screen, you need to provide the details for the built-in MySQL repository database configuration.
Also, you can see a “Status” message at the bottom which tells that there is already a MySQL instance configured in the server and provides us with the script to remove the existing instances from the server.
Please run the commands provided to remove or cleanup the existing MySQL instances from the server.
For RHEL / OEL
sudo yum autoremove mysql\* -y
For CentOS
sudo apt remove --purge mysql\* -y
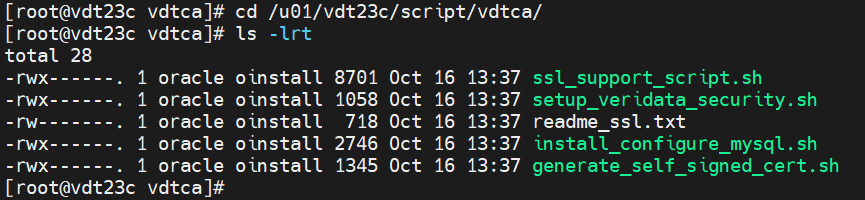
Secondly, we need to run the script “install_configure_mysql.sh” as root user and running this script will install and configure the MySQL database for repository.
In the silent mode of installation, the above steps needs to be performed before we execute ‘vdtca.sh’.
Let us first check and remove any existing MySQL database instances.

From the above result, we could see there are no existing MySQL instances in the server.
As a second step, let us run the install_configure_mysql.sh script as root user to install and configure the built-in MySQL repository database.

The ‘vdtrepogroup’ and ‘vdtrespuser’ already exists in my server as multiple tests are done in my server. If you are installing it in a new server for the first time, then this group and user will be created.
The installation and configuration of the MySQL is successful.
Let’s execute the Veridata Config Assistant script (vdtca.sh) in silent mode. We need to provide the second response file ‘vdtca.rsp’ as an input here.


The Veridata Config Assistant is successful.
Check if the Veridata Server and MySQL repository database is up and running.


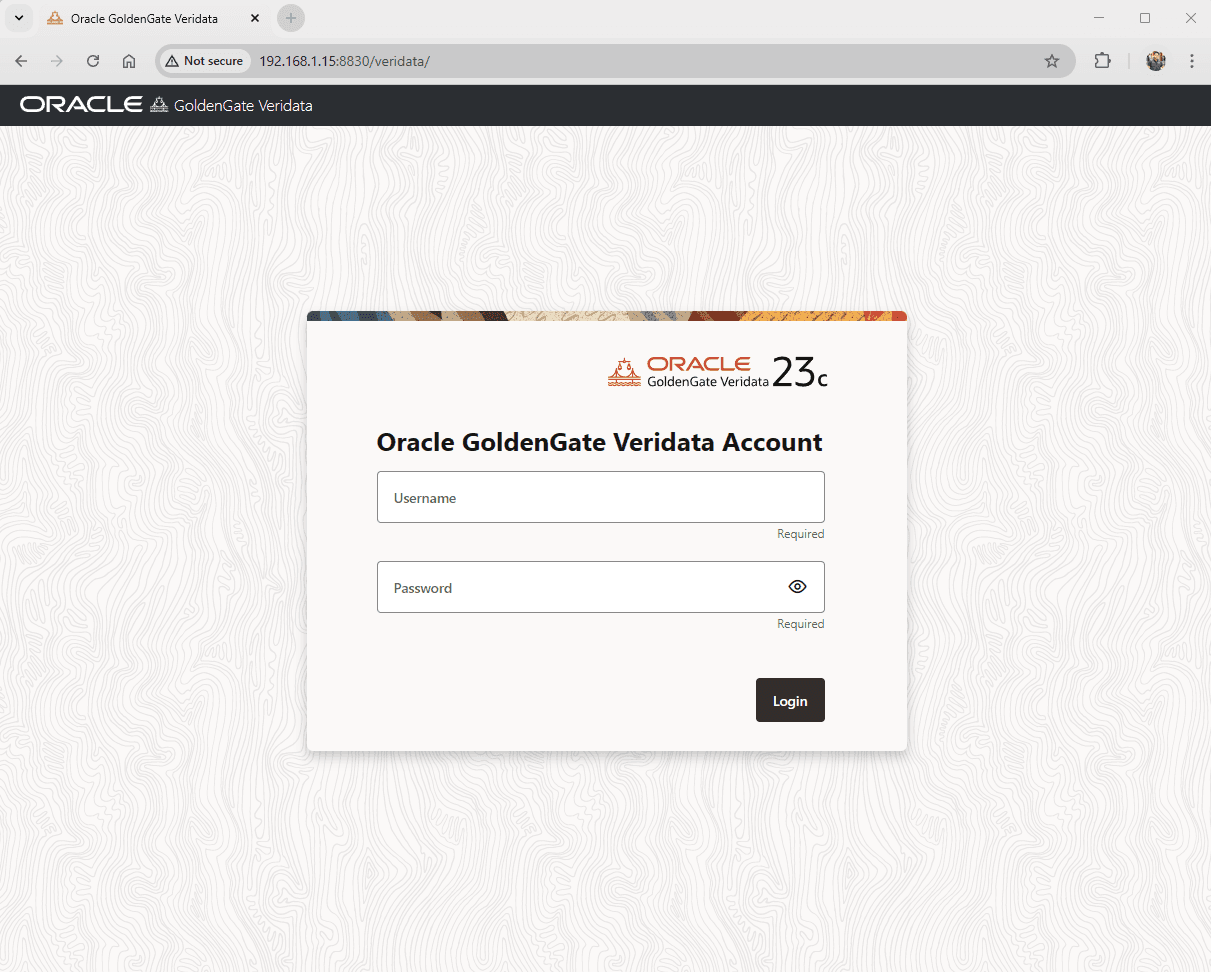
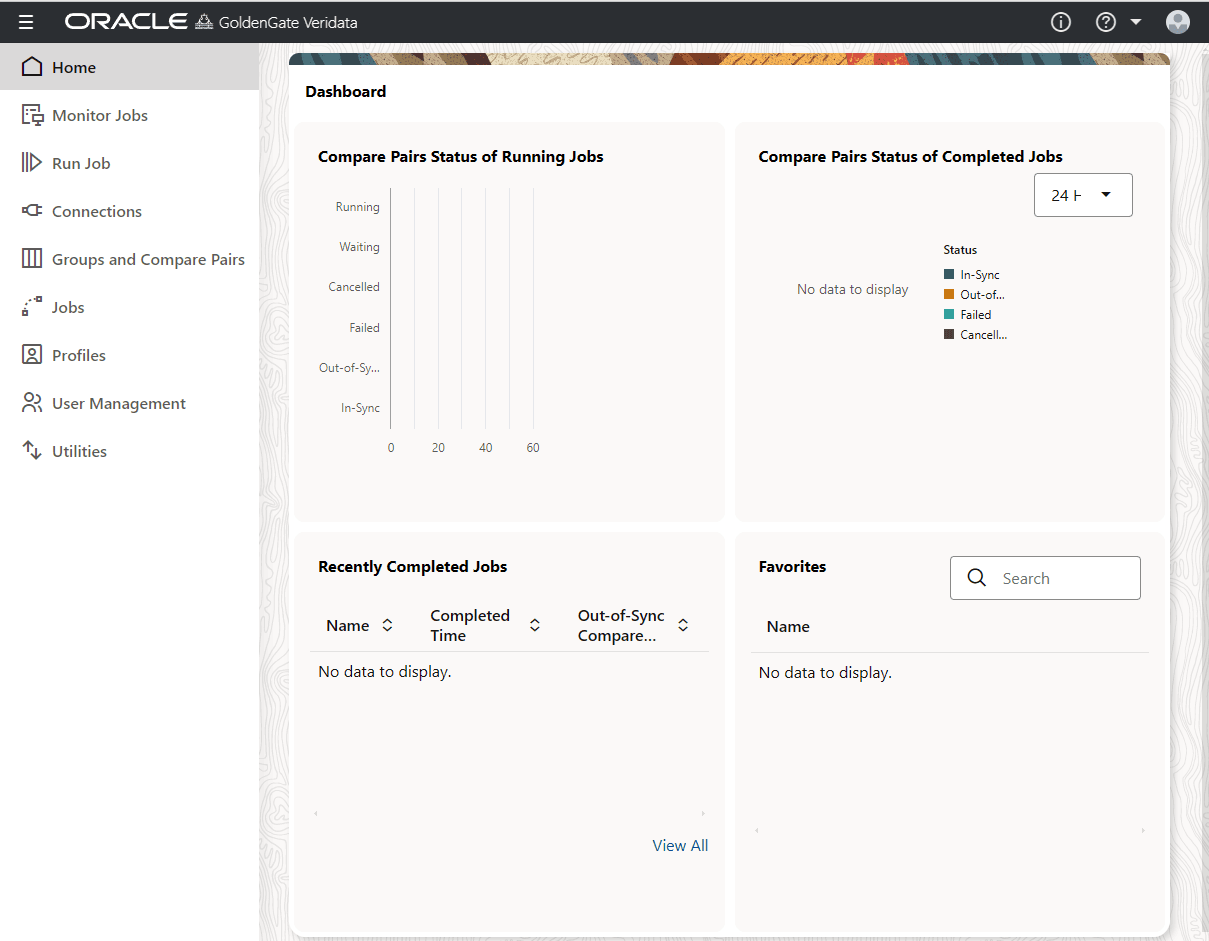
Login to the Oracle GoldenGate Veridata 23c console.
Hope you had a clear understanding on how to install and configure Oracle GoldenGate Veridata 23c in silent mode. I have also done an exclusive demo on Oracle GoldenGate Veriata 23c which explains the complete configuration. Below is the link to the demo video.
Oracle GoldenGate Veridata 23c Demo

Cheers :-)


 Total Users : 1891405